How to Use Your Phone to Make Your Photos Stand Out

Today, technology is at our fingertips more than ever, which means there are myriad opportunities for owners to enhance online property listings.
With a good photo editing app, you can now take ordinary photos and make them pop in just a few easy steps, all from your smartphone.
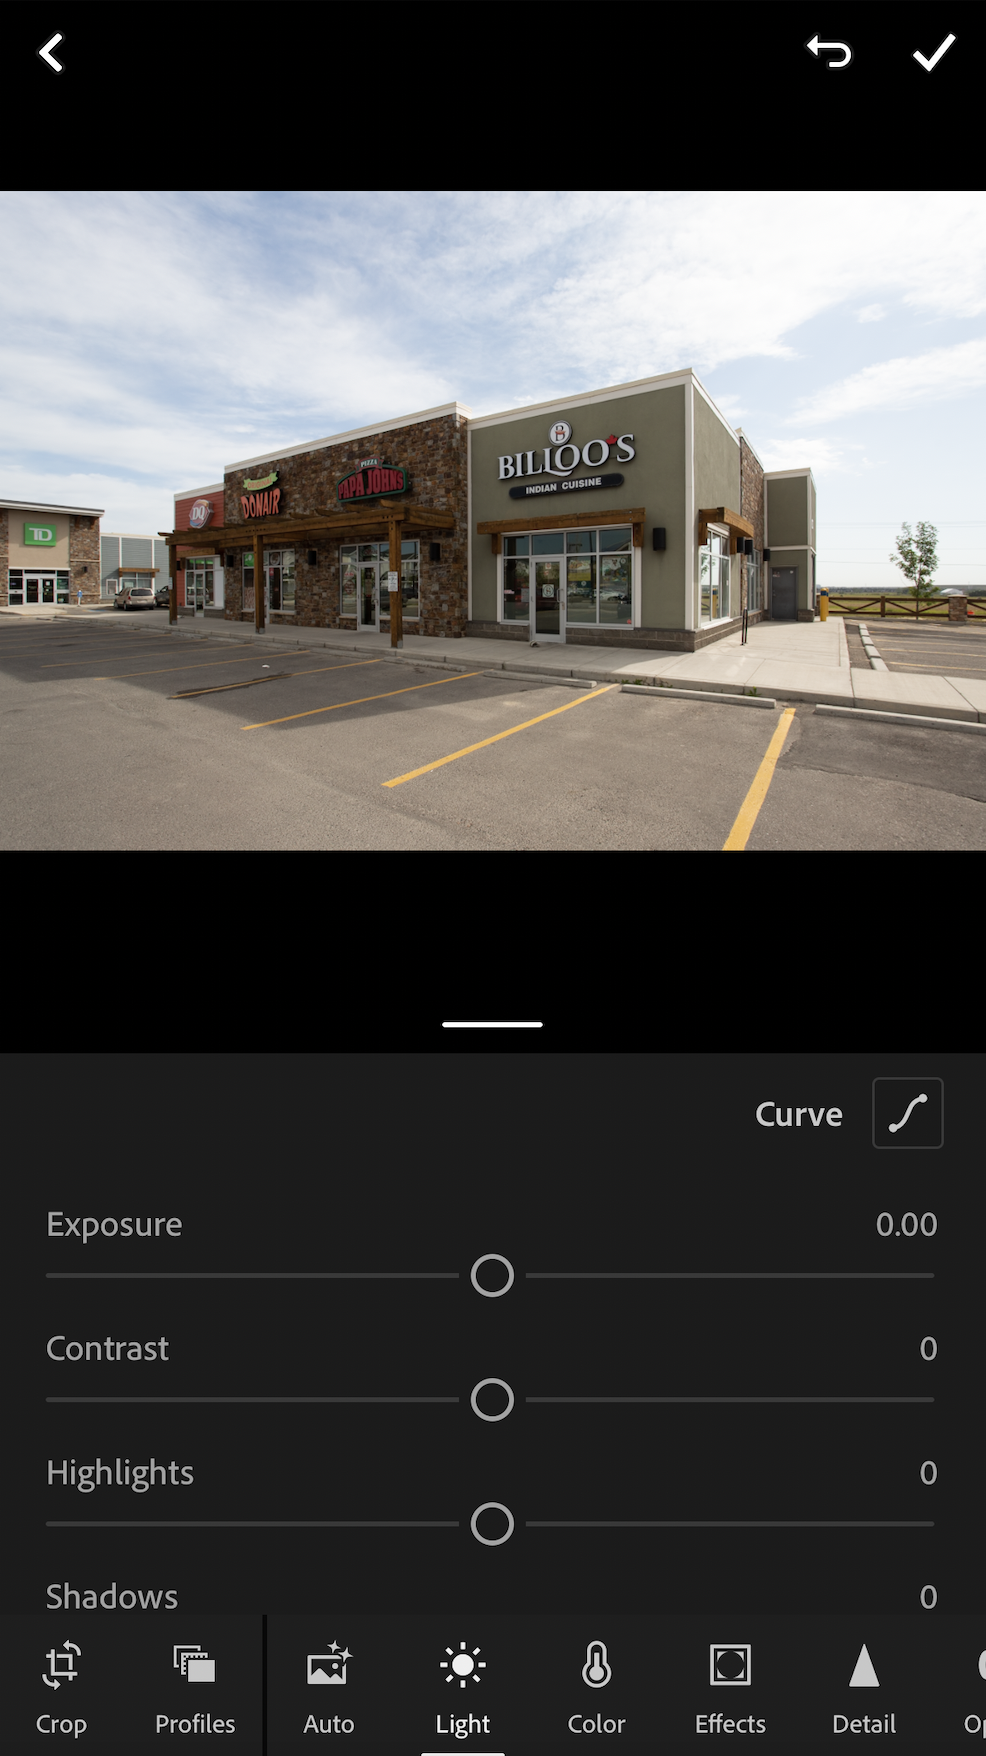
CoStar’s go-to photo editing program is Adobe LightRoom Editor, which you can download from the app store. Here is a step-by-step guide for how to use the program to make your photos stand out online.

You'll find all the functions you need at the bottom of your screen. You'll want to turn your phone sideways into landscape position to get a better, larger view of your photo while making adjustments.

Straightening
If your building is crooked in the photo, here are some steps you can take to correct any weird and non-linear lines so that it doesn't look like the building is tilted.
1. To start, click on the “Geometry” tab.
2. Click the on the drop down menu next to the “Upright" button then select “Vertical". And just like that, all the vertical lines on your building are straight.
3. You can also click and drag the Vertical sliding bar to make a more personalized adjustment. This will also generate a grid over the image to help you nail the vertical adjustments.

Next let’s straighten and crop our photo.
1. Select the “Crop” option.
2. Select the “Straighten” option. If you don’t see any changes that means you nailed taking the photo.
3. While still on the “Crop” tab, you will see grids pop up while you are cropping to help you while you make your adjustments.
4. When cropping, allow even space on the left and right side of the building, like a 1:1 ratio. Try to place the whole building in the center of the frame.
5. Consider the spaces above and below the building. We don’t want the image to be all parking lot or all sky, though there should be a little more sky than ground.


Lighting
When it comes to lighting, the most important thing to remember is not to overdo it. You want your buildings to stand out, but not look unrealistic or like a cartoon. Click on the "Light tab" and try to pinpoint what stands out.

If the details are lacking, try these tactics:
1. If the front of the building is in the shade, bump up the “shadows”.
2. Turn down the "highlights" and “whites” to get back some detail in the sky.
3. Increase the “Exposure” to help brighten the image a little.
4. Take the “Blacks” down a little to bring back some detail in places where you bumped up the shadows and exposure.

Colors
The key to adjusting color is to make subtle changes that'll help make your photo look more realistic rather than making a bunch of drastic adjustments. You can adjust the colors by clicking on the "Colors" tab.

1. The “temperature" or "tint” aren't something we usually adjust. But feel free to play around with it if you would like to see what it does.
2. Bump the “Vibrance” up to bring colors to the sky, but keep it subtle.
3. Add a little bit of “Saturation” to make the colors on the building pop. Just like in the “Exposure” settings, don’t overdo it. More subtle adjustments make a better image than drastic ones.
Here is a before and after example of what some of these changes will look like.


Click the export button to export your photo. If you will be uploading your photos from your phone then select “Export to Camera Roll.” If not then select “Export as...” and then you can e-mail the photos to whoever you need to send them to. For the dimensions, you can just use the LightRoom app defaults. Next, click the Check Mark at the top right of the screen.

On the next screen you can also just stick with the LightRoom defaults. You can always come back and edit these screens later.

Now choose how you would like to send the photos out. You can add them to a shared company album or even “Airdrop” them to a work colleague.

About the Author: Donovan Bissett
Donovan Bissett is a CoStar field researcher based in Canada.
